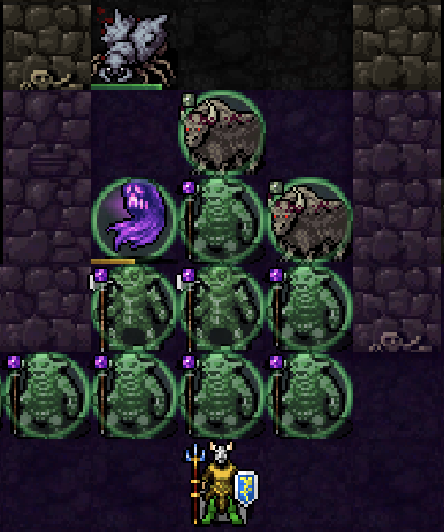
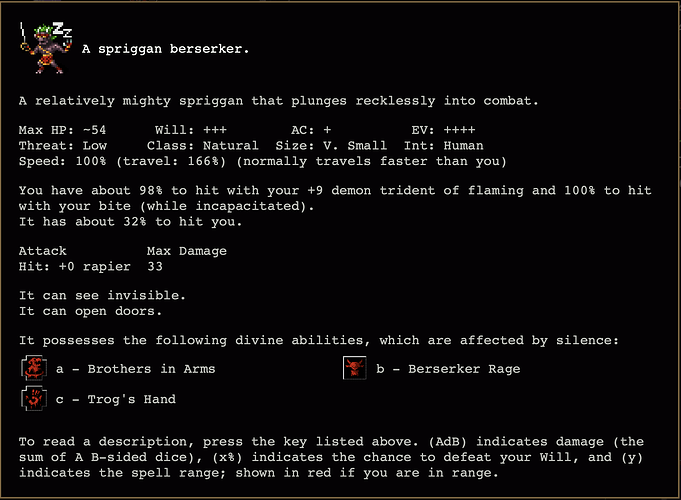
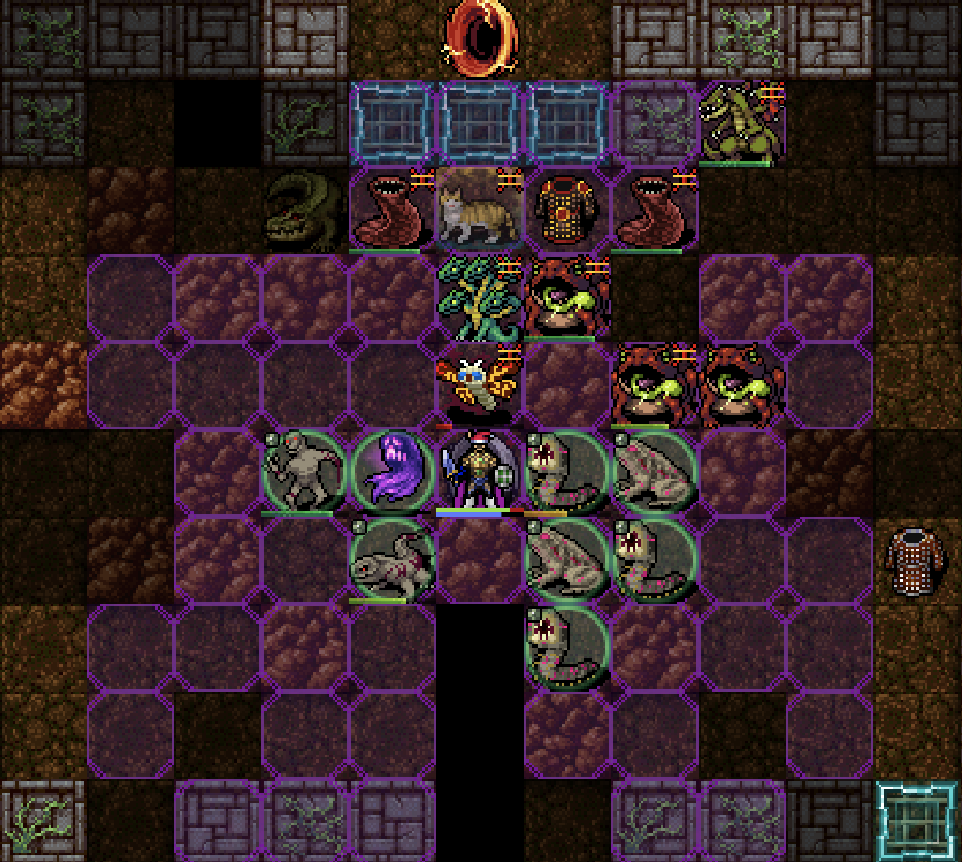
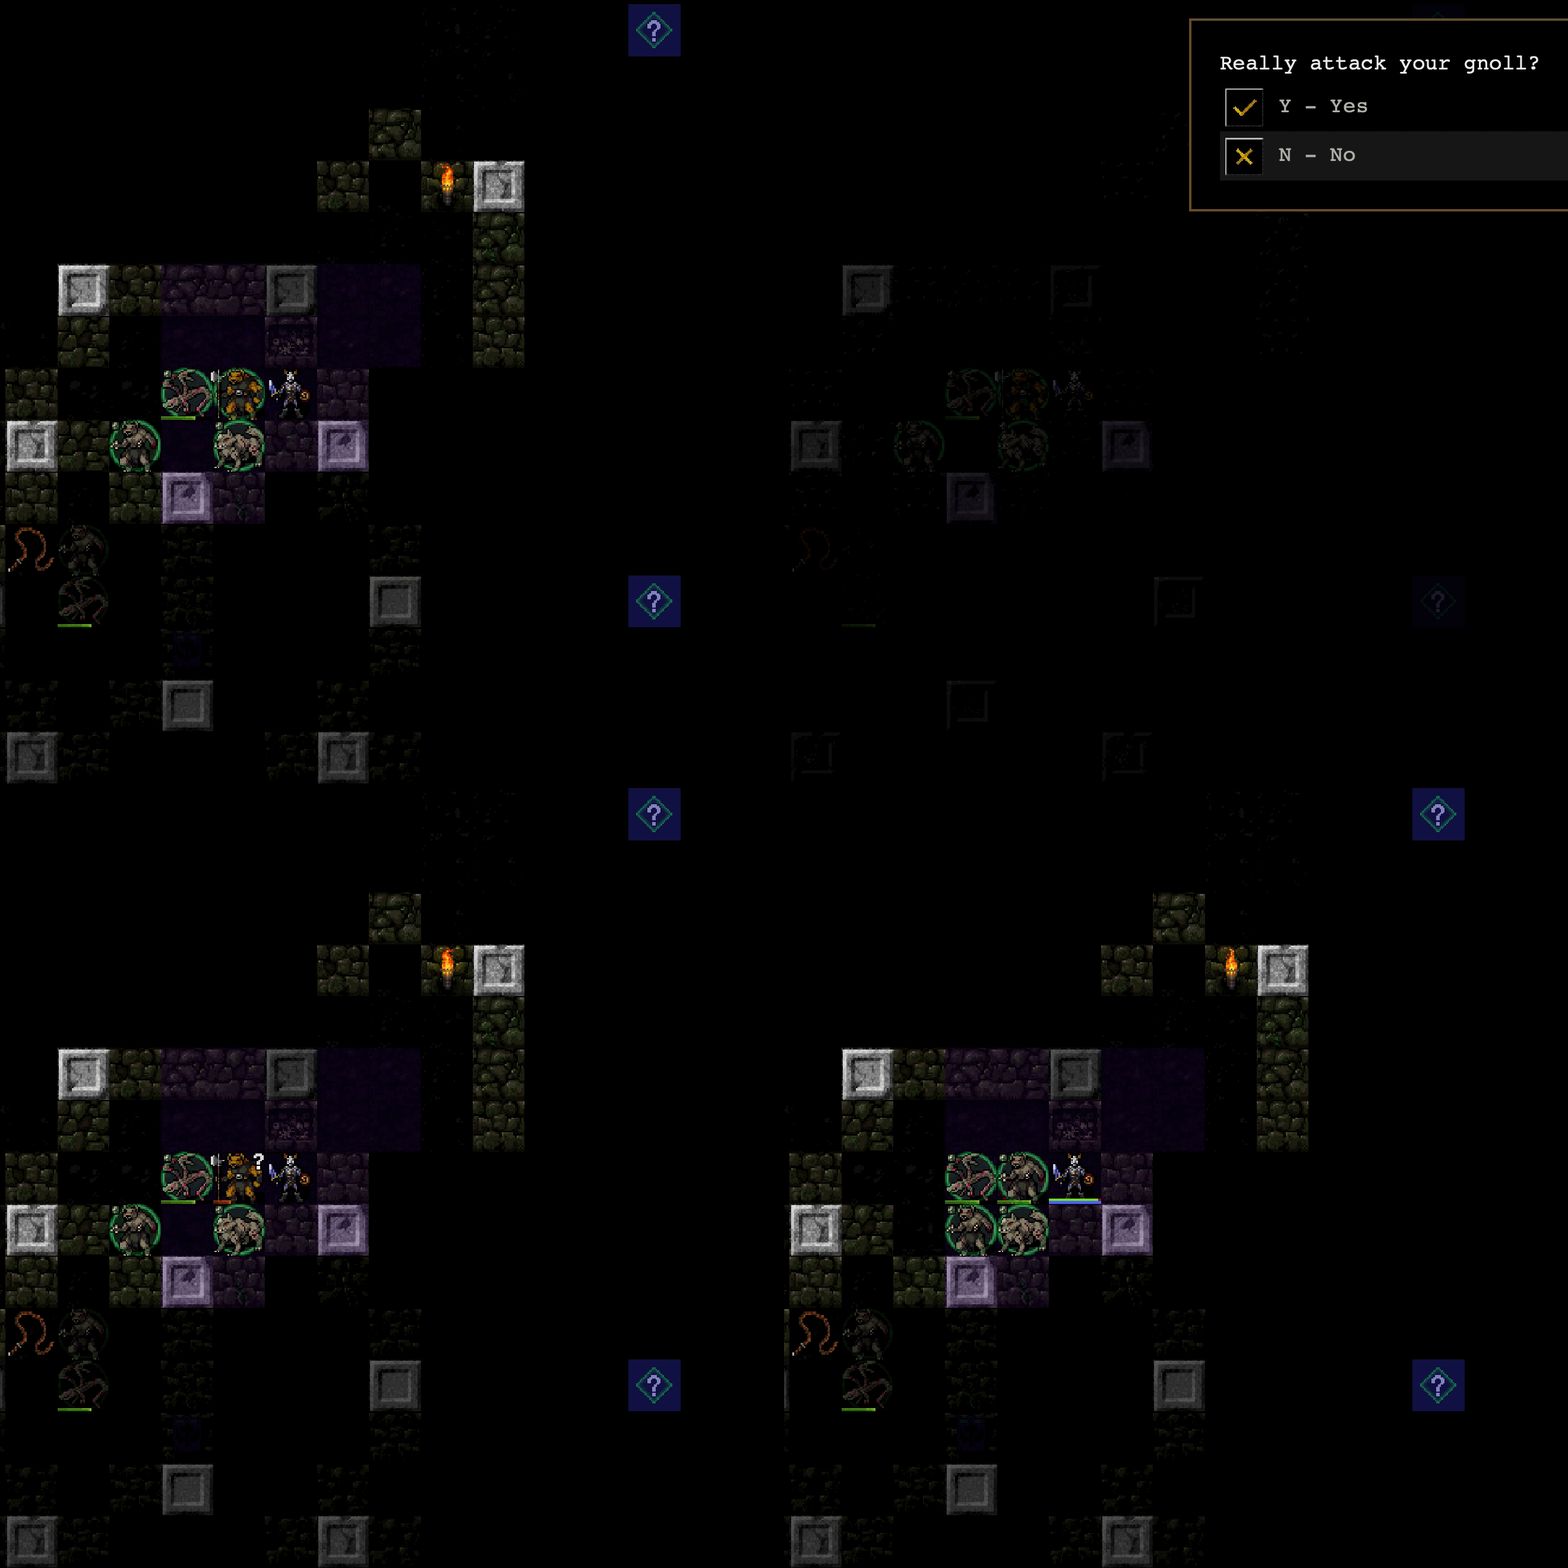
**The Git Gud Gnoll Guide has been moved. **
Please do not use this thread.
The Guide: Git Gud Gnoll Guide - CrawlWiki
Feedback Thread: Git Guide Gnoll Guide Feedback and Questions
Git Gud Gnoll Guide
If you ask the average Australian if they know the best DCSS combo to learn the game and get your first win, you’ll probably hear a lot of “Gnar, mate.”
And they’d be right!
As a Gnoll Artificer worshiping the dark god Yredelemnul novice players can focus on learning the basics of resource management and threat assessment while minimizing the sometimes painful effects of the RNG.
How this works
A Gnoll’s natural skills scale in a way that provide a smooth early game with a plethora of options during the late game, but they can feel underpowered and RNG reliant during the mid game.
Yredelemnul absolutely ahem shines as one of the few gods that gives immediate benefits upon worship, with abilities that can carry through S-branches but can start feeling weak during the end game.
Rounding this out is the Artificer background which can be considered one of the easiest starts due to having two dozen panic buttons available right from the start.
As a mid-armoured hybrid character, players will be casting level 4-5 spells by S-Branch, seeing mindelay around Vault, and even having L7 or 8 spells online to tackle Zot and the ascension.
Why this is beginner friendly
Some of the common complaints I see from new players is that shafting is unfair, winning is RNG dependent, and skilling can be difficult to learn.
By lighting Yredelemnul’s torch before stepping foot on any floor, players can stay safe in the knowledge that their dark god will prevent any malicious shafting, and Yredelemnul even provides powerful options to handle the pesky alarm and teleport malevolence as well.
A Gnoll’s natural adaptability and a hybrid play style greatly minimize the impact of needing “that one good thing” to drop… There are a lot of good things that a Gnoll can capitalize on. This adaptability comes with the benefit of not having to consider skill management, and a new player can focus more on how the skills’ growth impacts the available tools and meets given threats.
Another frequent complaint is around Attacks of Opportunity (AoO). The early evokables will offset the need to run away during the first few dungeon levels, and swapping with an ally will prevent the opportunity from occurring as well. Since you’ll usually have a revolving door of meat and spectral shields, disengaging from tough fights doesn’t need to cost consumables.
What you will learn with this build
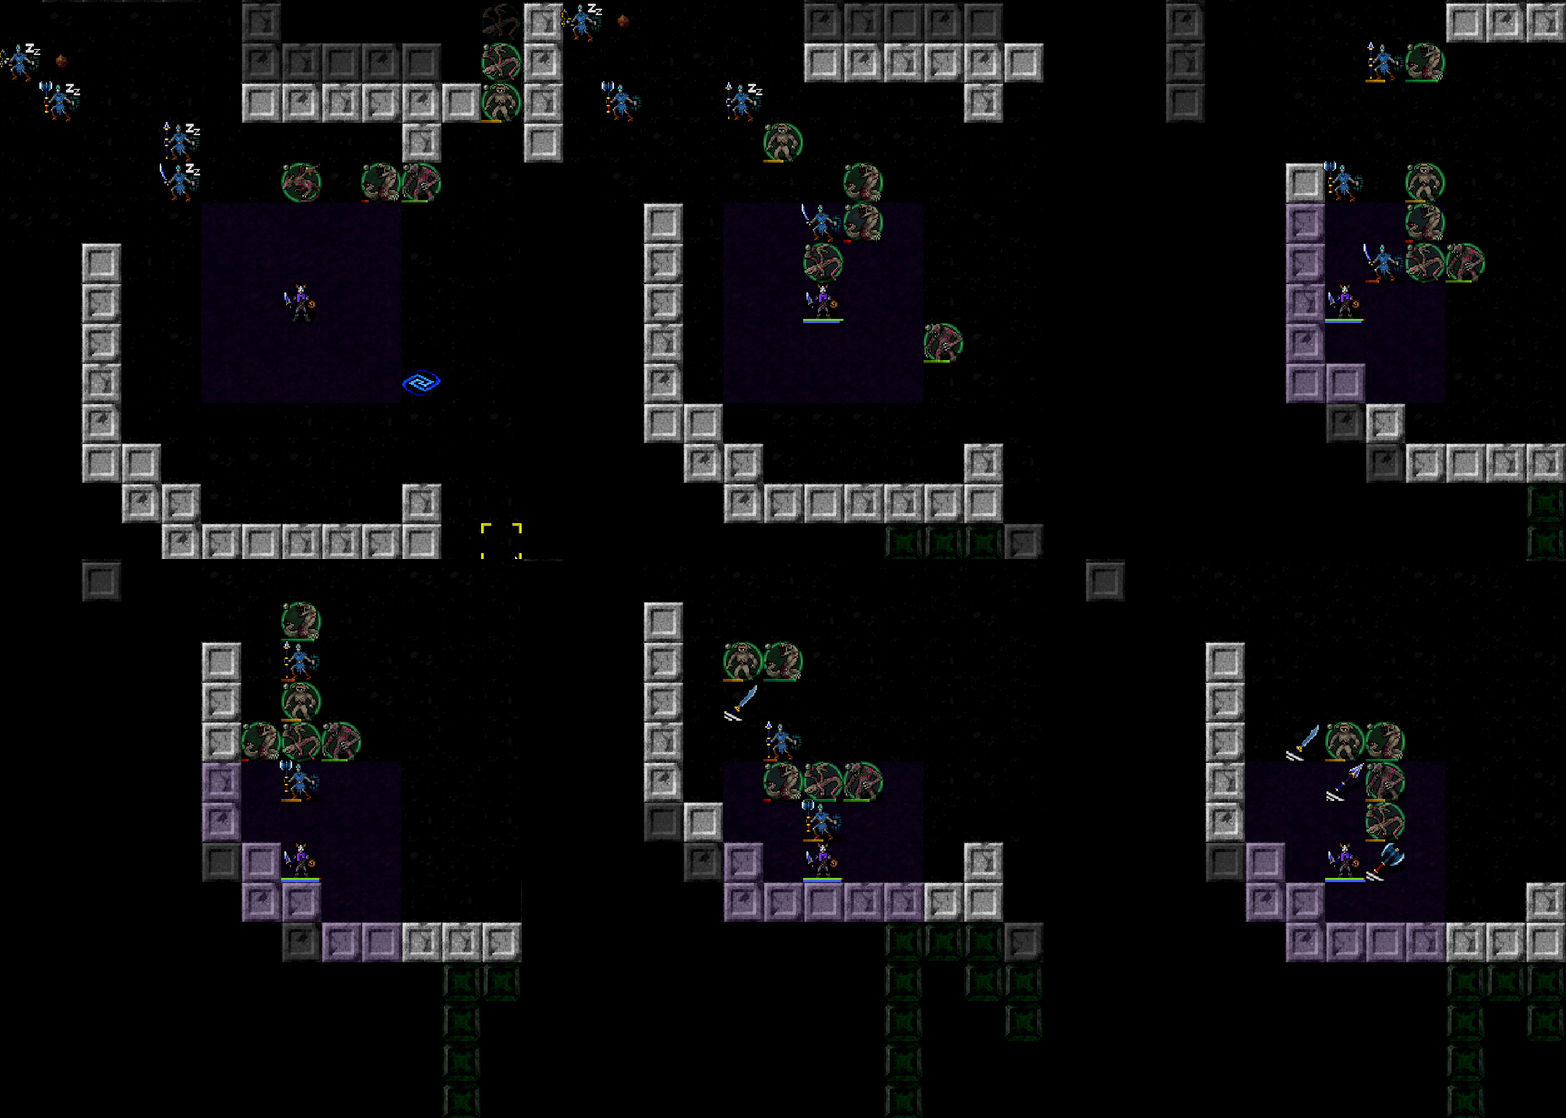
In addition to learning the basics of resource economics, this build also helps players develop a feel for skill level and power scaling and encourages learning about new enemies.
It will help if you’ve adopted a growth mindset and approach this build as a practice; we’re not building a streaker, we’re building a solid foundation in a few key fundamentals of the game.
Resource Economy
The single most important mechanic to understand for consistent ascension is the economics of resources. Survivability in Crawl is not about steam rolling through every single encounter, it’s about having options available when the shit hits the fan… Everyone can burn popcorn.
Knowing the cheapest option to get out of any given situation is a skill that goes undeveloped in many people. Focusing on improving this one skill has put me solidly at 10% 30 day win rates across a broad range of character combinations.
To demonstrate, let’s consider resources through the lens of basic supply and demand. Some resources like HP and Piety that recharge over time or (in Yred’s case) by killing things can be considered high supply items whereas potions and scrolls generally have the least supply; furthermore, the more valuable potions and scrolls generally have lower drop rates.
On the other side of the equation is the value (or demand) of the resource. The value is going to be much more dependent on the specifics of a build and what gear/spells have been accumulated, so for the purposes of discussion we’ll only be focusing on a generic GnAr^Yred.
The final piece of the economy to consider is the cost. This is a pretty subjective thing, and some costs like HP/MP and piety are intertwined.
While you may end up with some spellcasting power, and outside of lucking into OTR+Ignite Poison or Ignition+Wiz+Int, this build lends itself to hybridization and as such MP has relatively low value. It can be cheaply used at the beginning of a fight, replenishes, and for the most part you’ll rarely run out of MP. The downsides to having 0 MP are you rely on all the other ways you have to kill things from whatever awesome weapon happened to drop, to javelins, or some evokables. Or just reposition and let your allies duke it out for a while. All that to say… for this build, MP doesn’t have much value. Since it’s so cheap and doesn’t have much value, it makes sense to spend it (save enough for your panic button!) in order to preserve higher value things.
Moving up the value chain we’ll see throwing items and our homies. These two actually hurt the value of each other since you can’t throw through your homies. And the homies are somewhat dependent on the monsters they’re created from. As a rule, derived undead scale pretty well with the enemies they’re created from, but you’re also more likely to face AoE or piercing fire attacks that clear out your crew quickly in later levels. If you’re able to find some darts early, they’ll go a long way towards saving much costlier items… things like kobolds with a venom dagger can cost valuable !curing or you can just hit them with a poison dart and kite them.
In the middle value tier for this build you’ll find things like piety, HP, evokers, and wands. Outside of HP, the real value of these things is very situation dependent, but seeing as how they’re all much cheaper than scrolls and potions, learning when to apply them will ensure you have the ?blink and !cancel on tap when you need it instead of wasting them when positioning (costs HP) and a lightning rod would have done the trick. HP is an interesting one because its value increases dramatically the closer you are to death (which includes one shots from an orb spider), but for the vast majority of the game it’s a relatively cheap resource that can protect other resources like allies which protect your more valuable resources like ?butterflies.
Finally, we have the real high value items that pull your ass out of the fire… scrolls and potions. While most items in this category are more medium value and fit into the situational paradigm of the previously considered resources, the high value ones are very high value. Things like ?blink, ?butterfly, !cancel, and !heal wounds should be protected and saved for situations where the only other option available is death.
The value and cost of items also change over the course of a game. Early on, ?poison is a great tool for crowd control, but as you progress through the game its efficacy falls off and the inventory space is better used elsewhere so you might as well spend them early. !haste and ?blink are most valuable during the orb run, and while it’s not generally a good idea to specifically save items for the run, practicing good resource discipline should ensure you have at least a few on hand to get you to the next stair case.
| Type | Supply | Demand/Value | Cost | Renewable |
|---|---|---|---|---|
| MP | High | Low | low | Yes |
| Throwing | Med | Low[3] | low | No |
| God Allies | High | Low-Med | low | Yes |
| Piety[1] | High | Medium | low-med | Yes |
| HP | High | Medium | low-med | Yes |
| Evokers | Med[2] | Medium | low-med | Yes |
| Wands | Med | Med | med | No |
| Potion | Low | Med-High | high | No |
| Scrolls | Low | Med-High | high | No |
- [1] - God dependent
- [2] - Evokers have a variability based on evocations skill.
- [3] - Throwing weapons are Med value like wands usually, but this build has too many allies
Skills and Power Scaling
The skill system can sometimes be a bit daunting to new players, and while there is an automatic training option literally no one (yes literally literally) recommends using it. A Gnoll’s innate distributed training can offset this by helping new players get a subjective feel for what skill levels are needed for specific items or gear.
The primary things to look at from the start are min-delay, total defense (total D), and spell success.
From the very start, players should seek out daggers and short swords for an immediate 1.0 swing. Outside of a few special artefacts or a heavy spear, at no time should you be swinging slower than 1.0 on this build. Primarily you should be seeking one handed weapons, and since they’re all skilling at the same time you can get a good feel for how each weapon type handles. This might not always be an available comparison in an individual game, but over the course of multiple games you will have a feel for the comparative strengths of each weapon type at any given point in the game. I personally go with short blades and polearms as a default for this build, but I’ll just as often use some phenomenal randart mace or stave because that’s just how the RNG played out that run.
As you progress through the branches, you’ll find that it’s easy to adapt your gear set to the individual threats of each branch. You have a lot of freedom within the mid-weight body armours to tradeoff total D for branch necessary resists. You don’t have to worry about the sunk cost of a high armour investment when you have to throw on a leather armour to get rPois in Spider, and you don’t have to worry about the buyers remorse of getting your scimitar to mindelay when Rift is right around the corner.
Over time and with experience using different builds, a more refined and quantitative understanding of the skill system will unravel itself. But that’s a fire hose from which new players can be spared.
Learning About Enemies
One of Dungeon Crawl’s greatest strengths and successes as a game has been the in game documentation. This is another area of the game that can feel daunting to new players, with every new enemy needing to be inspected or you risk a quick trip back to the ‘Play Now!’ screen.
Yred’s Bind Soul ability encourages players to inspect enemies in a more natural and engaging way. We can replace the worry of “how will this mob kill me?” with the anticipation of “what cool shit can this guy do for me?” If we happen to notice that this particular mob has an unexpected resist or special attack it’s just a bonus.
As with everything else in this guide, this is all a learning process. Most enemies will only need to be inspected the first or second time you meet them… unless you play trunk in which case it behooves you to stay current on changes.txt. And since the Gnoll’s skill distribution means you’ll be at a similar relative power each time you encounter this particular foe, you’ll also get a better feel for how various gear or spell choices can impact your encounter with that mob.
Resource Discipline
I’d like to call out some of the finer details of resource economics that pertain specifically to this build and how it will help develop an understanding of these tradeoffs for new players.
Right from the start of the game, we’re given a set of powerful but limited resources. The initial wand set should be sufficient for any top tier player to find a god or otherwise get to a point where they can confidently win the game. You’ll practice resource discipline in the first few dungeon levels using those three wands and your HP bar.
The majority of early fights against things like goblins, quokka, and kobolds are usually winnable with a dagger or short sword but a lousy RNG can throw you to the wolves. For these popcorny type fights, once you’ve pulled them singled out or at most two in a corridor, tab them down until you hit 50% HP. Once you hit 50% HP hit them with your wand of flame; you have 15 shots, this should be enough to clear through D:2 even with a lousy RNG.
The wand of charming is used on popcorn packs like gnolls and orcs… find one that is the biggest threat and have them beat on their friends. Of course, you don’t have a piety cost so time is free right now and solo pulling will preserve the charm charges for later (but maybe costing you a flame charge). You can extend the life of a charmed ally by trading a little HP, and while this isn’t without risk you get a stab bonus to help finish off your temporary buddy.
The wand of ice blast is your first shit hit the fan (SHTF) button, and you get to use it 5 times. Save them for difficult orc priest packs and uniques. Ideally, you’d spend this out just enough so it’s exhausted around the time your Hurl Torchlight ability is coming online.
These three basic items are enough to get top tier players to Temple in all but the harshest seeds, but you should have found other resources by the time you’re hitting D:4.
As soon as you’ve hit D:4, you’re going to identify ALL your scrolls. This may seem counter to having good resource discipline and it’s not a practice that should be blindly followed on every character, but I personally do for the most part. The primary reason for this is that the faster we begin worshiping Yred, the sooner we’re guaranteed to be able to finish Lair and Orc. Secondly, anything not identified is unusable to you anyways and since we’re guaranteed Lair and Orc with Yred, the potential short term benefits of getting us to Yred outweigh the long term cost of having one less ?blink for example. If you did find some shops along the way, it can be worth it to spend a little on identifying potions and scrolls; primarily: ?identify itself, the low supply (!blink), or the detrimental (!mutation).
Once we get to Temple, the next phase of resource management comes into play.
You’ll immediately have access to a revolving door of meat armour. Just like with your starting wands, you’ll be balancing that meat armour with HP. The same 50% HP mark is usually a good measure for when to disengage and let *a homie *take a hit, but otherwise you should be tanking most fights and building a reserve of homies.
Don’t underestimate the impact of recalling your entire force around an enemy or smack dab in the middle of a pack, outside of axe wielders and some high threat denizens of Lair your homies can give as good as they get until you finish out S-Branches. Unless you land a really late Yred altar, you’ll also be getting a fresh pack of homies at the start of every level well before you enter Lair. These are to be spent on getting together an initial pack of homies.
Soon after worshiping Yred, you’ll be granted the Hurl Torchlight ability. What’s nice about this as a tool for learning resource discipline is that you get a specific amount every level, and since Invocations scale pretty well on Gnolls by always trying to keep one torch charge in reserve you’ll have a good way to reset a fight gone bad. This is a good time to exercise some of those medium value resources. Your resource pool should be devoted to getting you to the end of Orc without having spent ?blink or ?heal wounds. If the choice is ?blink or death, obviously you’re gonna blink, but otherwise try to preserve these two for later. As long as you have 2 !curing in reserve to cure poison, they’re a better healing potion earlier when you have less life.
Upon access to the Orc shops, your basic resource training is complete. It’s still prudent to follow these basic rules for the remainder of a three rune game, but how valuable things are becomes much more RNG dependent beyond this. Staying mindful about resource discipline and shooting to hold a torch charge in reserve will help make this skill become second nature.
What we won’t be learning
The core of this build is around the Gnoll’s innate adaptability coupled with Yred’s simplicity and 3-rune carrying power, and there are a few skill sets that won’t be exercised within the bounds of this guide. Due to the high downsides for under skilled shapeshifting, armour will almost always be preferable to any talismans you’ve come across. Most of your spell casting is going to be support spells or dealing with a SHTF situation, and the ally based nature of Yred doesn’t lend itself to blaster caster play styles. There’s also not much room for exploring the timed portals since they’re overall rather risky and compromise our shaft protection.
Yredelemnul
Thanks to the recent overhaul, Yred has been thrust into the top tier realm of game winning gods alongside Fedhas and Nemelex but with a much more forgiving play style. Unlike most gods, Yred’s bounty starts immediately upon worship and access to higher abilities is quickly granted over the next few dungeon levels. Yred is fully capable of carrying through S-branches and is able to maintain some clout through the remainder of a standard game.
Homies
Allies are one of the most powerful tools in the DCSS arsenal.
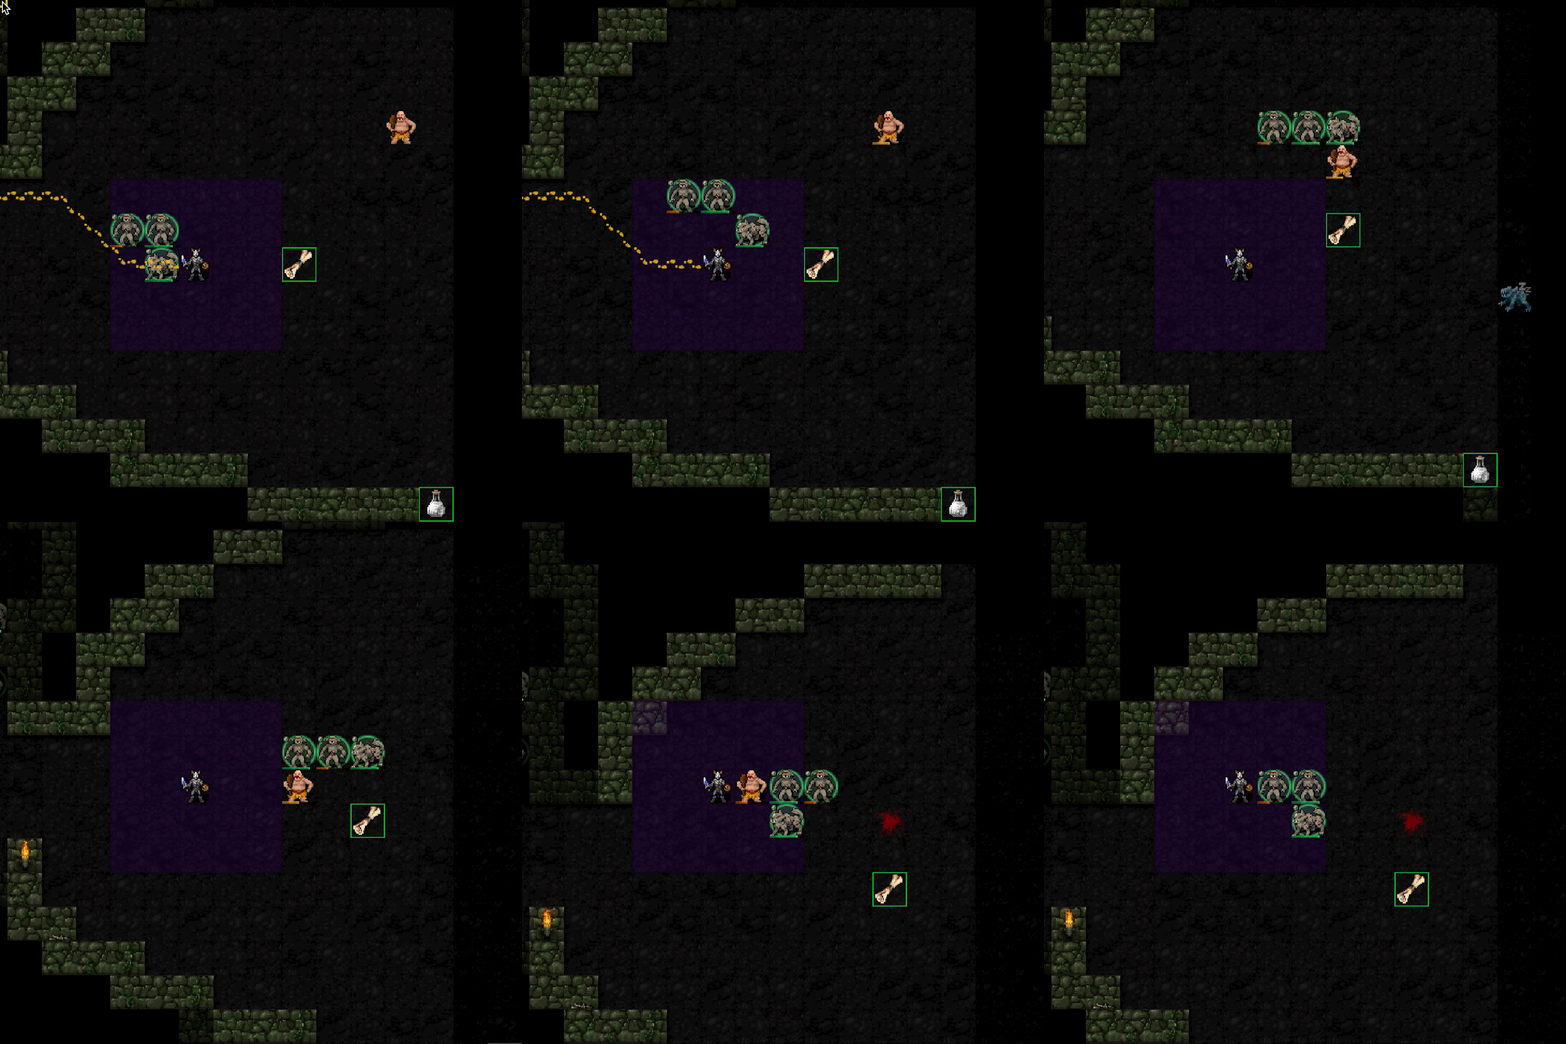
Properly applied, they can increase your effective HP pool, overwhelm defenses, or block LoS effects. But for most characters, maintaining your ally pool is tedious. Either you’re juggling Animate Dead and Death Channel or summoning/forging the same friends every fight… I’ve always found the play style boring. But with Yred, we get our homies for free. They just show up for us without having to lift a finger, and the cool part about derived undead allies is that they natively scale with the branch they’re from. Even the weakest zombie will prevent an attack of opportunity if you swap with them, but overall zombies are fairly tanky.
Most fights you should still be able to isolate and solo an enemy, so you have ample opportunity to build up a deep bank account of homies to call to help out in bigger fights. This doesn’t mean you need a 1 tile corridor for every fight; 2 tile corridors are better for this build in most situations so your homies have room to move.
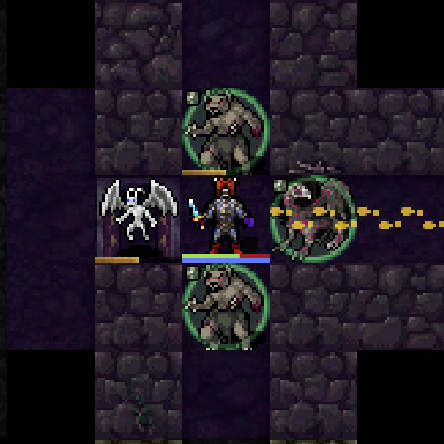
What you want to do is engage the enemies in a way that you’re trading the top 50% of your HP to preserve and attempt to grow your pack of homies. This means taking care around axe wielder or bolt caster… Most of the bigger AoE effects are on uniques that are supposed to cost more to beat anyways. Early on, most of the axe wielders you’ll be fighting are members of a pack, so its worth using those charm charges to have them turn that deadly weapon against their brethren. If it survives, you can surround it then get a stab and some free hits in from all your homies to minimize the damage they send your way. Or just move them to a 1 tile and tank them down.
Bolts are a little trickier to mitigate since they’ll usually be hitting the homies who are following you into the fray. I like to get in close and recall my horde around them, quickly negating their multi hit bolt capabilities while likely overwhelming their pitiful caster defenses.
One important part of the ally mechanic to keep in mind is that allies (in general) won’t hit anything you don’t have unblocked LoS on. This means not only monsters off screen, but also those on the other side of a glass wall have the ability to hurt your homies without your homies being able to retaliate. For summoner and forgewright builds, this usually happens during fights where you’re largely aware of the threats, but the semi-permanent nature of derived undead means you’ll lose some friends during your normal exploration as well.
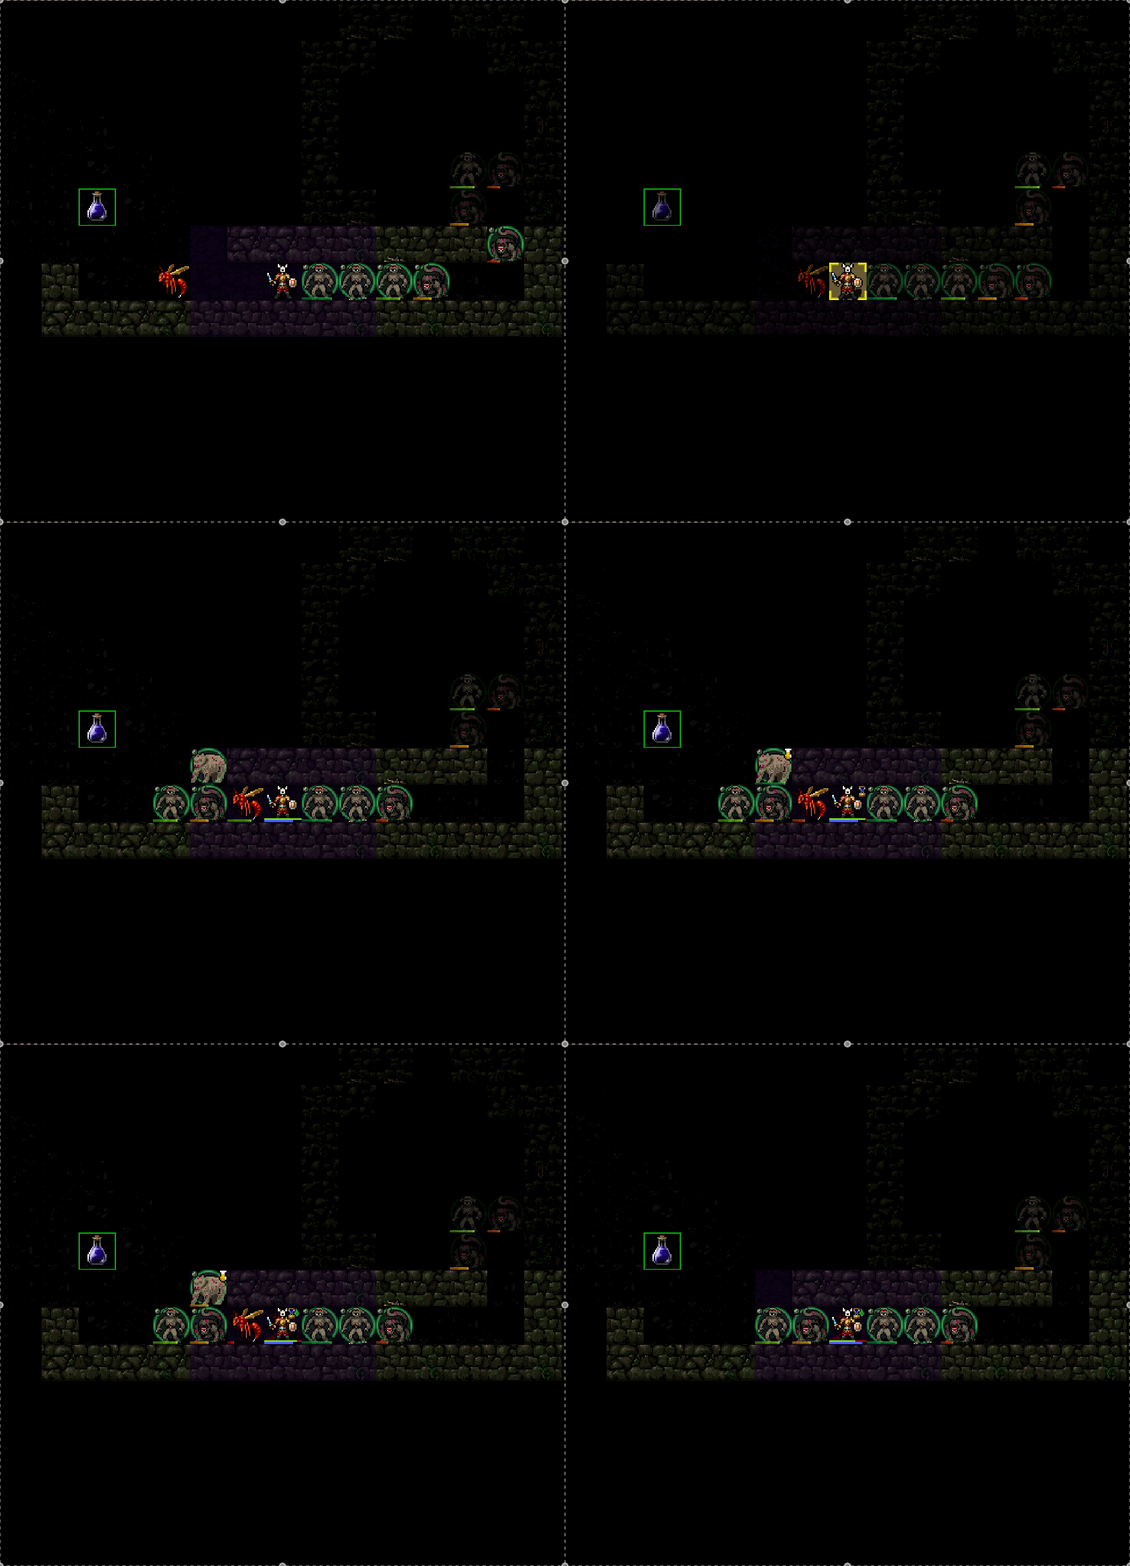
It’s important to keep an eye on the message bar to see if anything unseen is harming your homies. Clearing particularly dense levels like Vault:5 you’ll actually find you need to do a lot of backtracking to ensure the tail end of your homie train isn’t getting picked off by some baddie that joined the party late.
Recall Homies
The bread and butter Yred ability. This gets quivered and used in almost every single fight. I can not stress enough how effective this ability is, there’s a reason recall is no longer accessible to players outside god abilities. And it costs 0 piety!
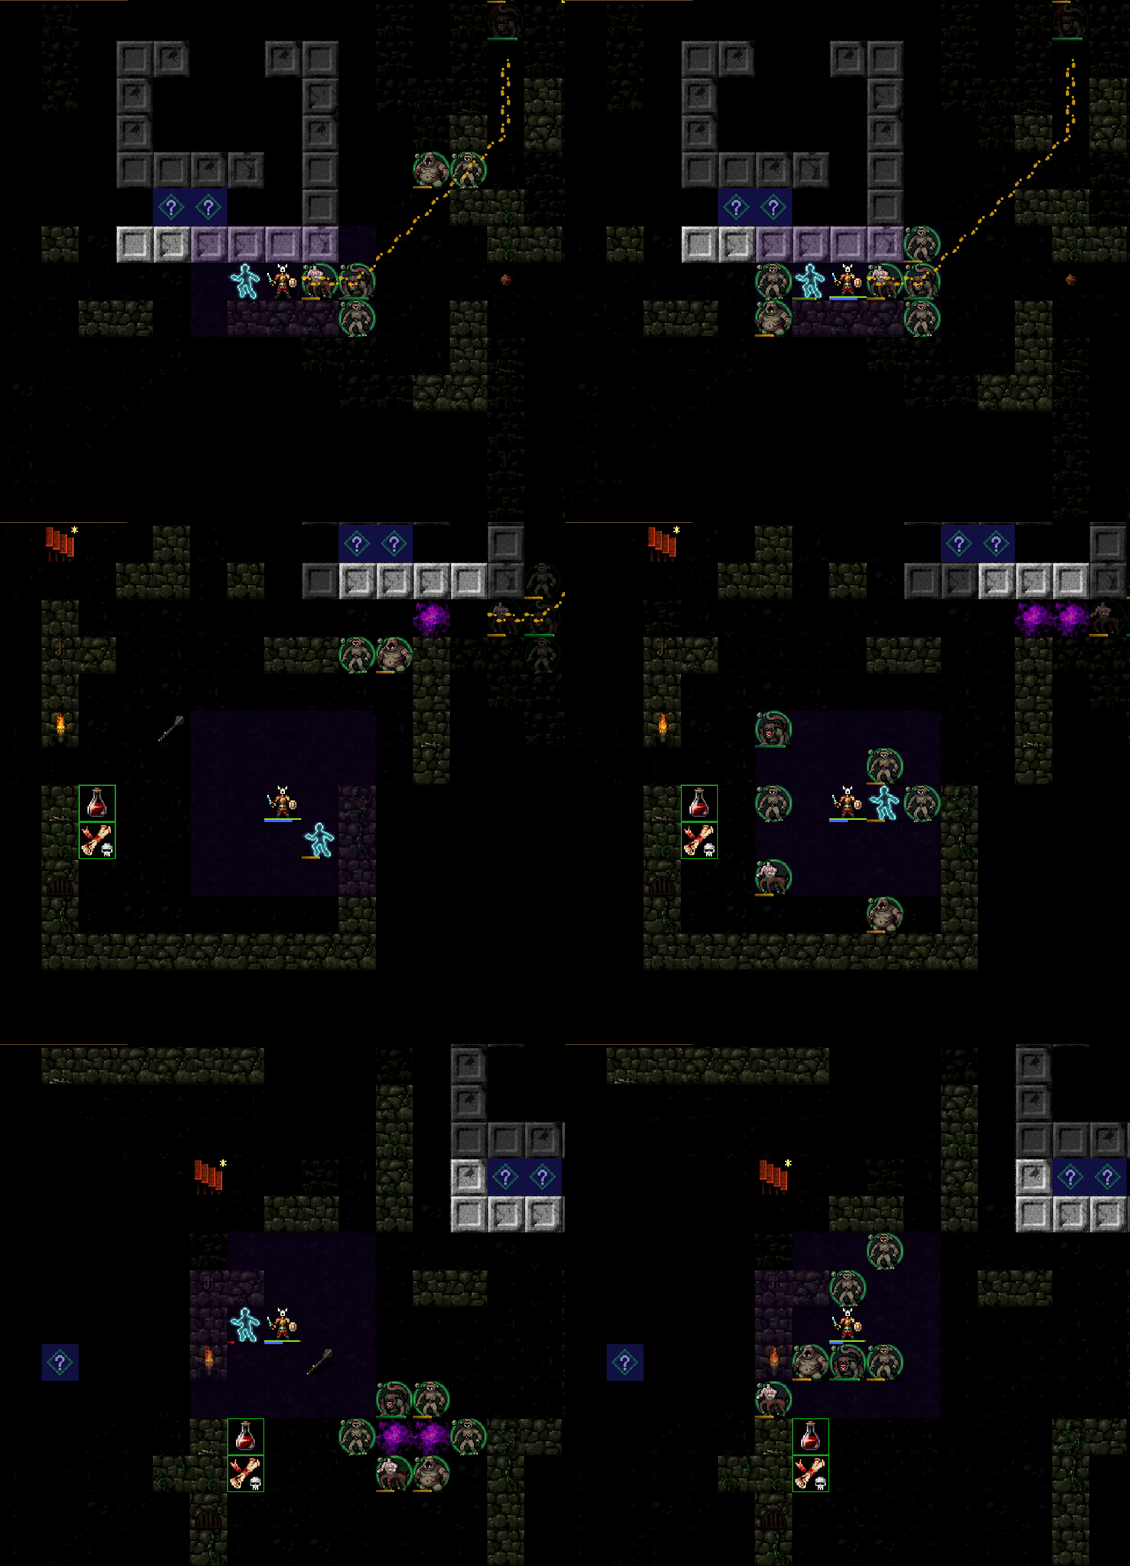
For most of the game, your pack of homies is going to trail behind you and get spread out. This works fine since it keeps them out of harms way, but it also presents the problem of how to effectively use them when the fight happens. Recall Undead Horde solves this problem for a mere 2 MP. Imagine you’re standing face to face with an early Natasha, you bloodied her nose a little and you’re feeling like this fight is going your way when suddenly she spawns a few imps around you that all begin pounding on you with relish. This is what you get to do to your enemies. One second they’re fighting a giant armoured rat, the next they’re completely surrounded by shambling corpses that all take a swing.
Recall is also useful for repositioning the battlefield during large fights. As enemies invariably stream in from different directions, your concentration of homies and where you lend your support will change, often leaving a buildup of homies on the wrong side of the screen or taking shots from even more enemies further off screen. This applies doubly for valuable bound souls that might need a break from the fight. Recall should be one of the first options you consider during a large fight when you take your hands off the keyboard and think “what’s my next move?”. With practice, you’ll get a good feel for how the homies will be repositioned by a recall and when its the best bang for the buck action in your arsenal.
Lighting the Torch
There is a bit of an art to optimizing Lighting the Black Torch, but we’re playing it safe and ensuring we avoid shafts by following a few simple rules.
If you’re entering a new branch, you’re going to immediately light your torch the second there are a couple open spaces around you. Establishing an initial foothold in a new branch may cost you some resources, but you don’t have to worry about getting shafted so we can be a little proactive in their application. Most branch entries are cheaper resource wise than getting shafted, so we’re also practicing strong resource discipline this way as well.
Outside of the one stair branch entries, you’ll want to scout all three stairs and decide which is best based on available space for the initial homies and the potential derived undead they’ll be able to help you create. Your stealth should be reasonably high, so you can expect most monsters to stay sleeping when you do your peeking. Even if there aren’t any enemies visible on a staircase it’s always worth it to light your torch before moving off the stairs to ensure you don’t get shafted.
You can get away with not immediately lighting the torch in a few instances:
- the bottom floor of any branch - save it for when you’re ready to break a vault, get teleported, or otherwise find a strong fight.
- the second to last floor of any rune branch - you can’t be shafted into the final level of a rune branch, still use it soon as you find enemies.
- timed portals - save it for when you need it or the final vault fight.
Once you’ve lit the torch, we’re going to establish a bastion by clearing the space between the three upstairs that you previously scouted. If you do this carefully and with an attitude towards building your horde, you’ll be able to o+tab the rest of the floor most times. Practice using your stealth to avoid strong fights until the bastion and your pack are established. This will also give you a safe space to retreat to and regroup your homies if a fight starts to go south.
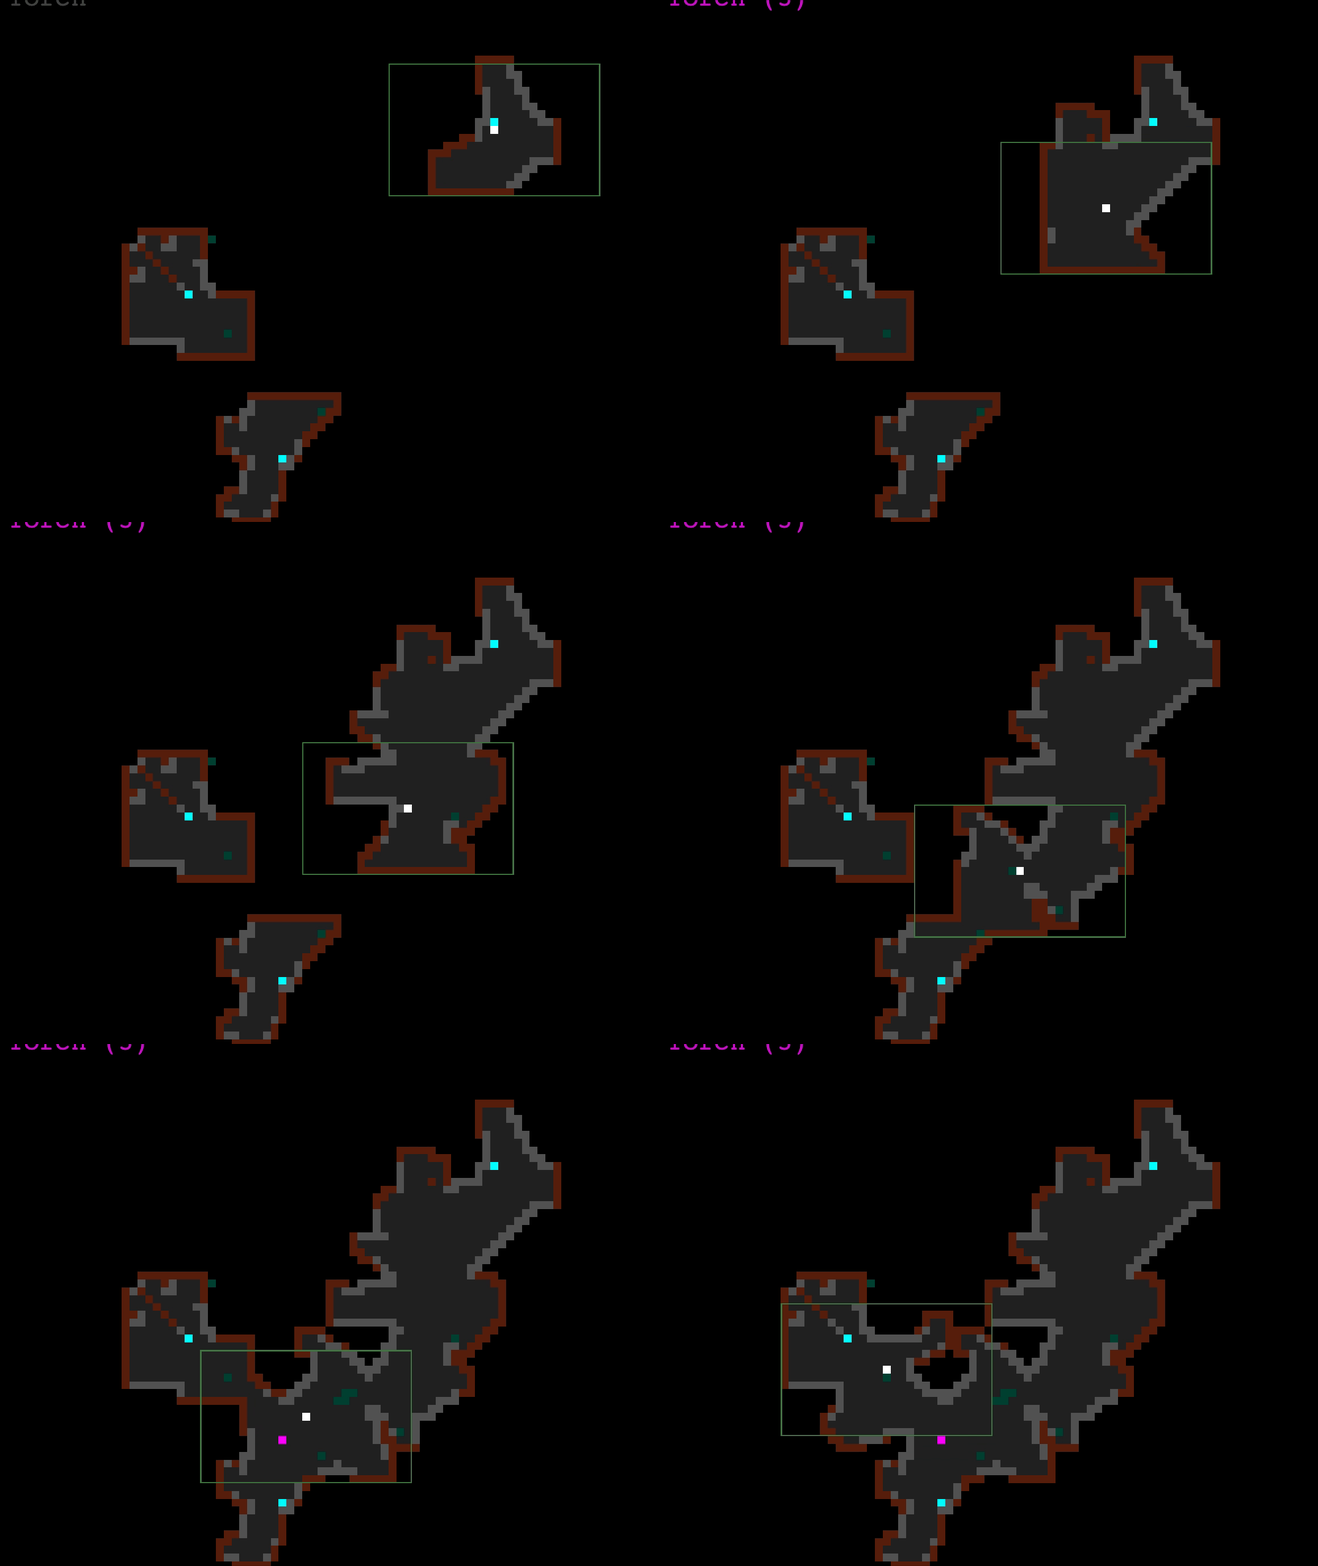
After the level is clear, you might be left with the choice of clearing a vault or two. You should carefully weigh the potential costs of clearing out any given vault, and you need to have a way to deal with the ghost since Yred won’t help you there. Dispel Undead should be memorized as soon as it’s available and under 20% but it’s not always going to be available.
Door vaults you can usually sacrifice some homies while you run away, then engage the vault residents one by one. Portal vaults can be death traps, I recommend avoiding them unless you’ve carefully assessed the threat level; this is not a place to take a gamble. You can still come back to them when you’re strong enough to handle them solo, so don’t let the FOMO get you. Finally, avoid any vaults that can potentially send you to the Abyss, Yred won’t do much for you and we want to avoid it at all costs.
Hurl Torch
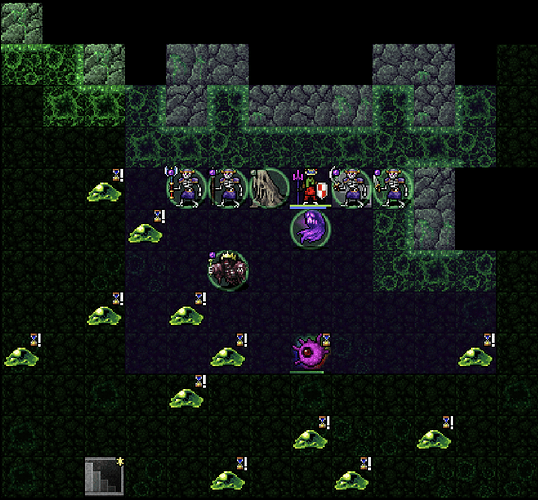
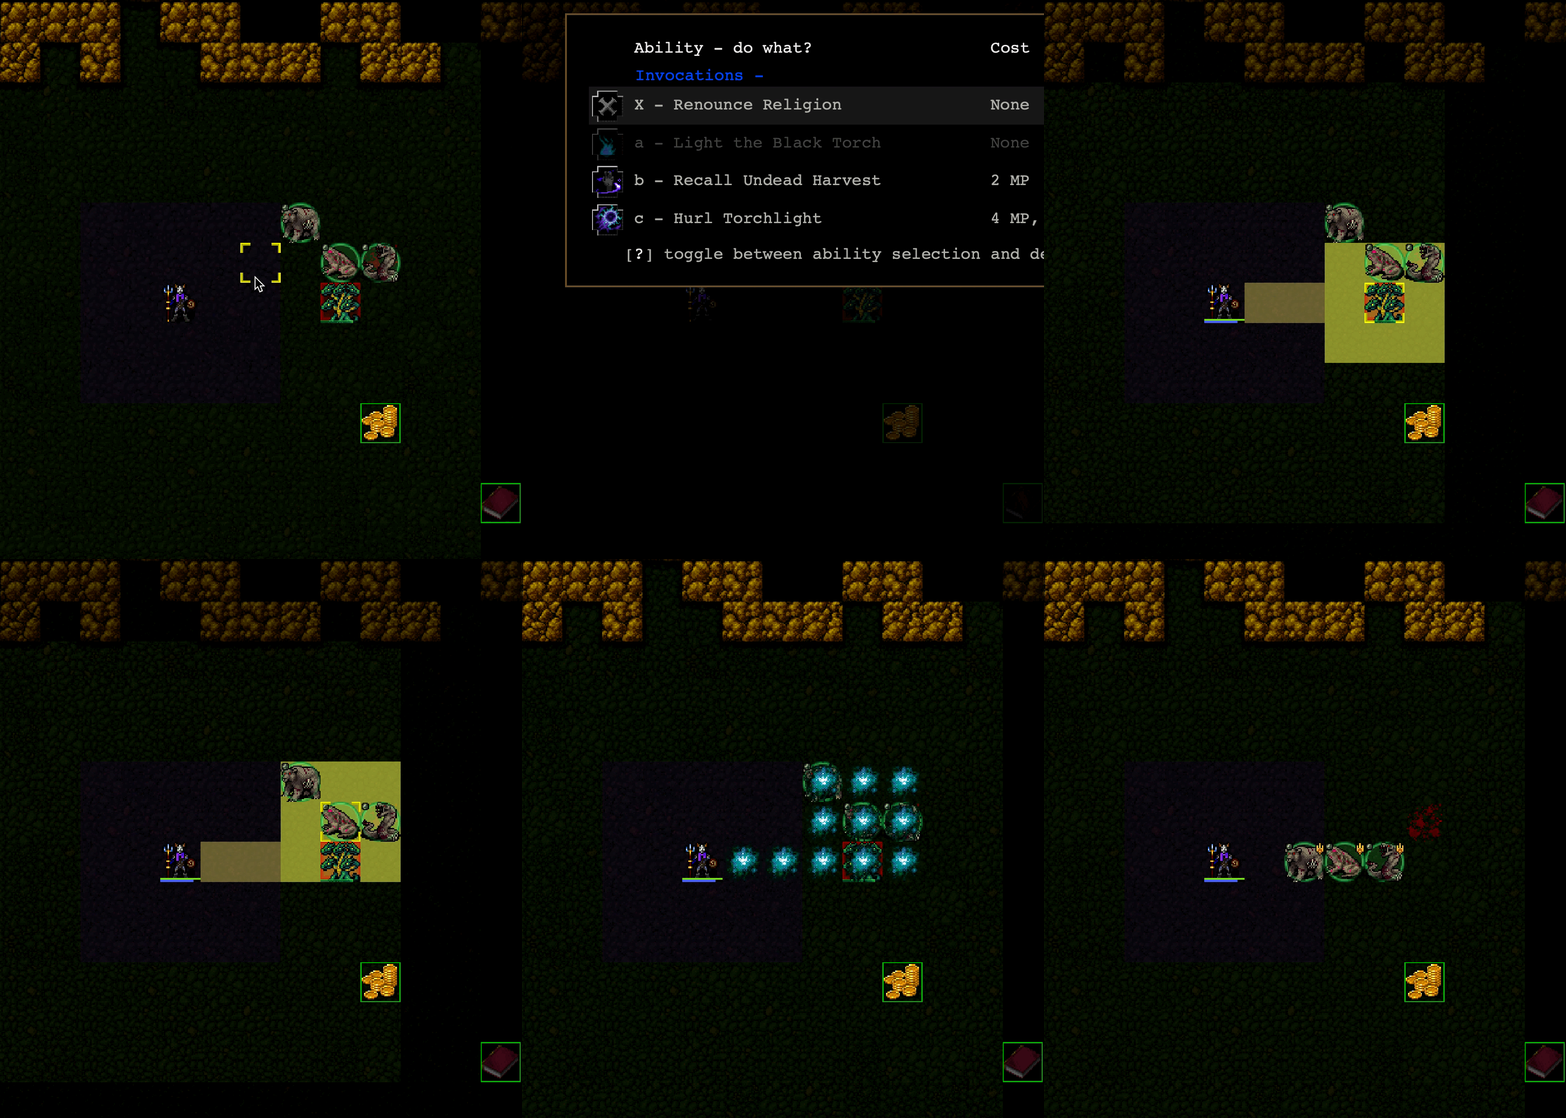
Hurl Torchlight is a fun mechanic that will help you learn AoE and beam pathing mechanics. The torch blast has the unique property of both buffing your derived undead while simultaneously hurting enemy living, holy, and demonic enemies caught in its blast. Since it also has no effect on you, it’s safe to cast while you’re standing right behind a rank of your homies holding back an onslaught of mobs; this is a targeting mechanic you can abuse with Mephitic Cloud and rPois so get comfortable with it. You don’t always have to use this on an enemy either; drop this on your hydra zombie and laugh at the mobs being slaughtered.
Gnolls naturally have a higher invocations aptitude, and you’ll find this allows torch damage to scale nicely through the game. Even in Zot:5, you’ll see meaningful reductions in the enemy’s HP bars.
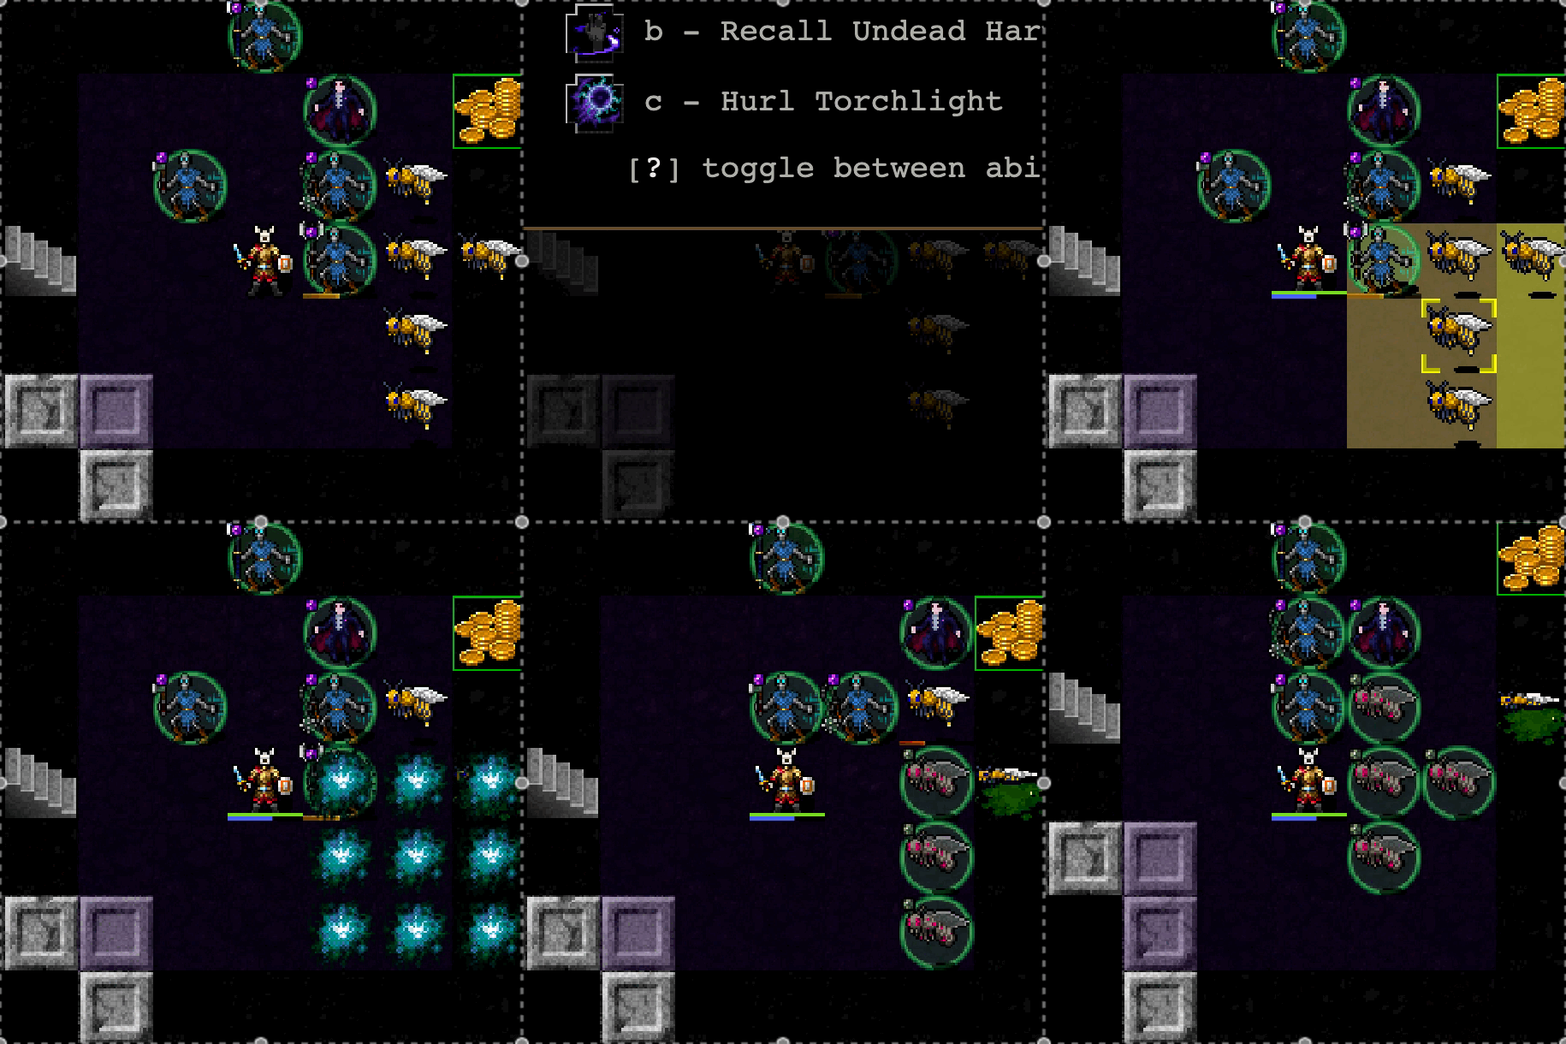
Torch charges will also be a focal point for managing your consumables. Try to budget a torch charge for your initial level entry and try to have one saved at the end of each level. The rest of the torch charges should be spent throughout the level with an eye towards preserving your homies, so let loose on that axe wielding warlord or flaming piglet. You can also freely use a torch charge against uniques, since Yred gifts you an additional charge for each unique you kill. Don’t save a final torch charge at the expense of costly resources, but maybe try using ?poison instead of that torch charge or quaffing one of the eight !rage taking up space in your inventory to eliminate an axe wielder before he decimates your homies.
Suck Life
Yredelemnul’s capstone power is a major life saver that stays relevant throughout a standard run. It isn’t too piety intensive, so if you needed to fire off a second Fathomless Shackles as soon as the first expires you won’t be leaving yourself out of options.
Most of the time, leaning on the kill buttons while you have your first Shackles going is enough to finish off the majority of large fights. Don’t expect the life draining effect to fully counteract the incoming damage you might be receiving, so you do want to kill threats as quickly as possible even if they’re giving you a little HP each turn. If you’re finding you need to lean on this so much that your piety keeps dropping enough to have it on speed dial, you should probably take some time and reevaluate your build… maybe there are some spells, a weapon, or gear rearrangements that you can make to increase your general survivability. Paying attention to your positioning can help increase the number of enemies caught as the area of effect shrinks over time.
Fathomless Shackles should come online by the time you’re finishing Lair, and probably the first place you can plan to use it offensively is in the Orc:2 vault. It may come in handy prior, but combining !attraction and a Shackle will quickly wipe out the main orc pack. If you draw the ranged/centaur vault this tactic is still valid since the blink spam will block LoS and they’ll end up close very quickly. !Attraction is an underutilized consumable that can be leveraged in very unique ways for quite a few different builds in the future.
For most of the standard game, you’re going to have something in range that you’ll be able to regenerate life from, but the hold ability is still immensely useful for situations where you need to retreat from an area. Don’t forget to recall your homies so they aren’t slaughtered off screen. You also want to be very careful relying on this in Elf and Vaults when the elven necromancers are around. They’ll ensure all the bad guys you just killed come back as enemy undead which you won’t be able to drain; this is much more manageable in Elf:3 than Vault:5 because you can better control the flow of enemies joining the fray. Unless you’ve lucked into some really strong gear or spells backed up by wizardry, I recommend avoiding Vault:5 on this build.
Having enough piety and MP on hand to always have Fathomless Shackles available is another critical target for practicing our resource discipline. It’s a powerful panic button that can help reduce the consumable cost of the teleport and alarm malevolence that Yred doesn’t directly protect you against. Combined with the ability to cheaply recall your flock of homies from across the map, and you shouldn’t have to worry about that pesky RNG outright ruining your run.
Soul Binding
Bind Soul is by far the funnest ability in the game (Heavenly Storm being a close second). The possibilities for shenanigans are endless, and you can find some very fun synergies throughout your adventures. Almost any enemy that you might consider a significant threat will be worthy of binding, and outside of some general recommendations for basic monster types to consider in each branch I’m leaving it up to players to explore these options themselves.
As a practice, there a few types of monsters that don’t work too well or even anti-synergize with Yred:
- Things that leave clouds (e.g. catoblepas)
- Efreet and Azrael don’t leave their flame trails in spectral form.
- Monsters that rely on AoE attacks
- Monsters that rely on direct LoS Ranged attacks
I say as a practice instead of rules because something like a centaur warrior with a bad ass bow and a halberd can still be extremely effective over the course of a few fights. Consider what other options the monster has available, they won’t outright hurt your other homies but they will at best stand around doing nothing a lot.
